Showing posts with label 1/48 B-58 Hustler. Show all posts

Monday, 8 August 2011

1/48 B-58 Hustler Part 4


IT IS FINISHED!


Once the new black and nato black paint arrived the model was finished in the space of a couple of days. Once the black was sprayed a gloss coat was applied and the few decals where applied. Next a quick oil wash a matte coat and a few exhaust stains and the B-58 Hustler was finished!

For more photos see the gallery page.


Friday, 29 July 2011

1/48 B-58 Hustler Part 3

 A lot has happened very quickly with the Hustler. Although the kit is fairly large there is not a great deal to build, not much of an interior and not to much to put together on  the outside.  Not that I'm complaining, rather the opposite.  I love it when a kit builds up quickly as you get further ahead before the interest dies off.
Whilst the glue was drying on the main parts of the Hustler I decided to get some of the smaller parts completed.  The main ones left to do were the exhausts. These were done very simply by spraying inside and out a dark silver thwen painting inside the feathers with a light silver.  The insides were painted a mud brown shade with off white sprayed over the top.  this  was all finished off with black being sprayed on the edges.


 The final bit of work to be done was sorting out the horrendous joints of the engine pods and fuel pods to the main airframe.  This is particually hard due to angles and locations of the joints.  For the engine pod to wing joint I used super glue and talcum powder.  For the join to underside of the wing and fuselage I used Squadron putty smoothed off with nail polish remover as I did not have any way of sanding those areas.


 With the last of the filling and sanding completed a final primer coat was sprayed and no more flaws were detected so it was time for paint!

As soon as I got this kit I had only one scheme in mind the Southeast Asia camo.  Whilst the is some to debate as to whether this scheme was actually ever applied to this aircraft it is definitely a scheme that was conceived for the Hustler as there were instructions on applying this scheme in the USAF TO-1-1-4.   As it would happen the Revell boxing has a decal option for this camo scheme, so armed with this info it was time to paint.


For this model I decided to spray the camo pattern free hand which was easier than I first though. To begin the painting process the whole model was pre shaded then the top camo colours applied starting with the lightest. For the colours I added a few drops of with  to give the colours a faded slightly chalky look then post shaded with the original colour  across the panel lines  and in a fairly random fashion. 

Unfortunately I have run out of black and black grey paint so the Hustler has come to a grinding halt.  but that should be rectified by the end of the weekend so more soon....

Friday, 22 July 2011

1/48 B-58 Hustler Part 2


B-58 Undercarriage 
As promised the undercarriage is done which is highly detailed and very easy to put together. To fully build up the undercarriage before final assembly I placed the main parts in the gear bays and used that to line up the additional parts.   This was then painted with Vallejo Aluminium and will receive a black wash once the paint has dried.


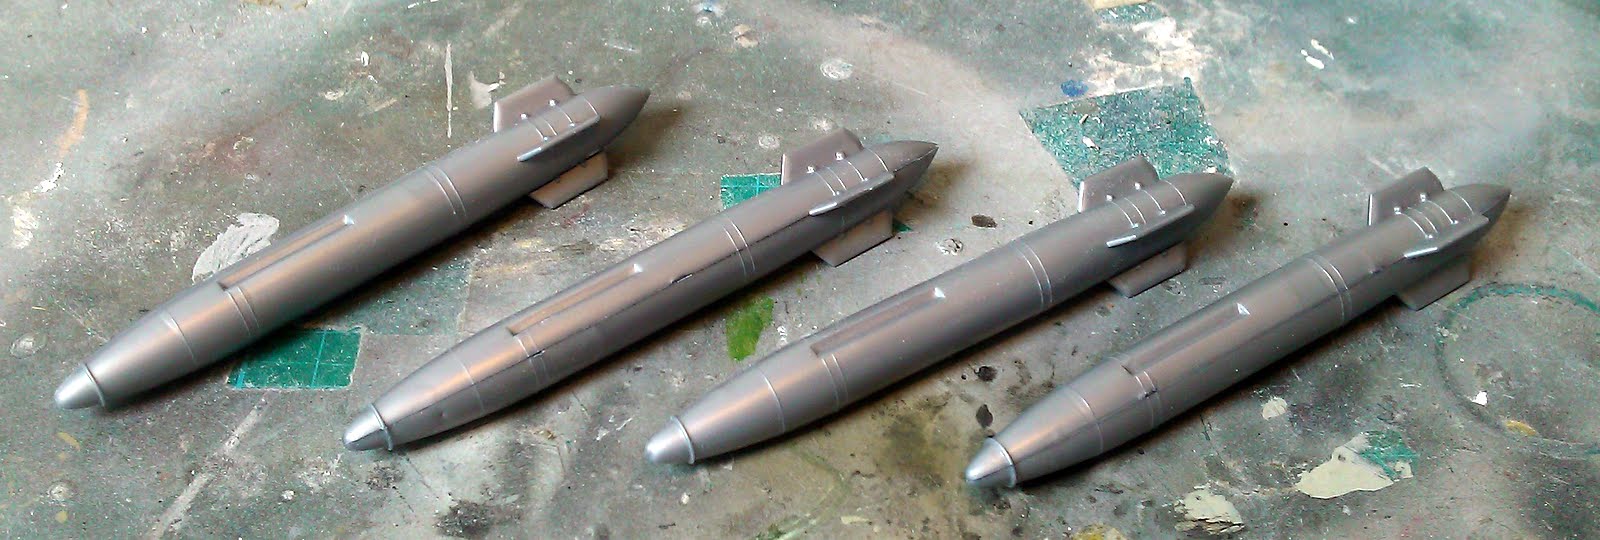
 As I said in the previous post on this build I have made up the nukes but noticed when I went to clean up the hard points for them that the parts have large holes in an awkward place. Because of this I decided not to put the nukes on the model.  In turn this led to the holes for the hard points needing to be filled which was easily done by backing the holes with plastic card then filling and sanding.


For the filling on this model I wanted to try something different and quick.  For this I used a technique I have seen on various websites using super glue and talcum powder.  To do this simply mix talcum powder with super glue to create a paste and apply like normal filler.  The more the talcum powder the thicker the paste. A word of caution: only  mix up a small amount at a time as the paste dries very quickly.  Once the filler dries sand flush for a smooth finish.


These holes where completed in about 5 minutes from backing the holes to sanding flush.


From that point on the build has picked up some speed but more on that in the next post...........

Monday, 18 July 2011

1/48 B-58 Hustler Part 1


Revell's (Monogram's) B-58 Hustler needs no introduction! Whilst sitting at my modelling desk, I couldn't help but see how hard it would be to re scribe. The task actually turned out  not to be too difficult - nice raised panel lines and straight lines, before I knew it the upper wing was done! This quickly lead onto the cockpit and a few other bits being built.........


The cockpit is very well detailed and comes together really nicely. The cockpit is painted in US barley grey with a slightly darker shade of grey used to pick out the panels.  The dials were given a wash of black to make the detail pop out and the bright colours on the seat give the cockpit interest even though not much can be seen once trapped inside.

 Next up whilst the paint dried on the cockpit I decided to make a start on all the little bits and the not so little bits.  The fit of these parts was easily as good as any modern day kit  the only question at this point is do I use the larger fuel pod or the smaller bomb pod?
 That's it for now next on the agenda is finishing off the cockpit, then the highly detailed undercarriage and putting the fuselage together, easier said than done...
Related Posts Plugin for WordPress, Blogger...