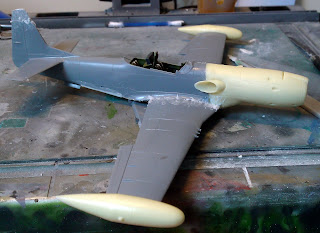
The fit of the kit is fantastic with no filler being needed at all and only a minor amount of filler needed for the adding of the resin parts. The main fit issue was with the underside insert which was down to my poor first cut due to not 100% understanding the instructions....
I decided instead of trying to sand and fill around the strengthening plates I decided to just sand them straight off and replace them at a later stage with plastic card......
With the model tidied up and a final coat of primer it was time for the paint. The Cavalier was painted to order so whatever the customer wanted they got but alas there were no customers and the demonstrators were painted in the South East Asia colours. I wanted mine to be a fictional USAF aircraft with the SEA camo much like my Hustler. With tthis is mind I searched through my decal stash and found a set of Hasegawa F-104C decals for a SEA aircraft....
With the paint and decals on a wash was apllied and it was time for weathering. For this aircraft I wanted it to have a look of a hard used workhorse. Firstly I started with the exhaust staining using a dark brown first with a dark black grey. I then sprayed on some black staining for the guns and added chips with a dark grey and finally light sienna pigments around the wing root and cockpit.....
And with that it was done........ There are more photos of the finished model in the gallery....


No comments:
Post a Comment